- Our products
Smart Switches

- Smart Switch
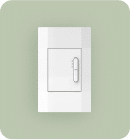
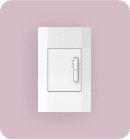
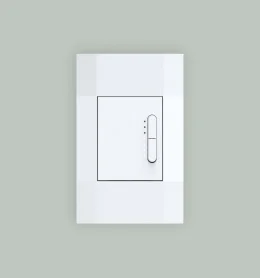
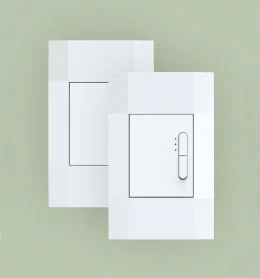
- Smart Dimmer
Bundles & Starter Packs
- Simple Dimmer
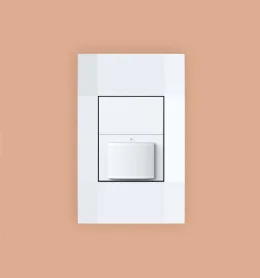
- Simple Motion Sensor Switch
- Simple Nightlight Switch
- Simple Ceiling Fan Controller
- Simple Timer Switch
- Simple Astronomical Timer Switch
- Multiway 3-Way & 4-Way Simple Rocker Switch (No Backplate)
Bundles & Starter Packs
- Ambiance Starter Kit
- Convenience Starter Kit
- Safety Starter Kit
- Starter Home 10-Pack
- Smart Security 25-Pack
Accessories
- Deako Faceplate
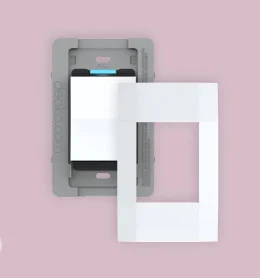
- Quick Wire Backplate & Faceplate with Single Pole Simple Rocker Switch
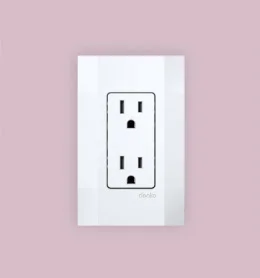
- Smart Plug
- Deako Gift card
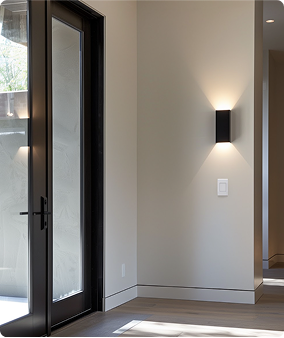
- How it works
- Get inspired
- Partners
Partners
Overview
Builders
Electricians
Integrators
Resources

- Support


- Our products
Smart Switches
- Smart Switch
- Smart Dimmer
Bundles & Starter Packs
- Simple Dimmer
- Simple Motion Sensor Switch
- Simple Nightlight Switch
- Simple Ceiling Fan Controller
- Simple Timer Switch
- Simple Astronomical Timer Switch
- Multiway 3-Way & 4-Way Simple Rocker Switch (No Backplate)
Bundles & Starter Packs
- Ambiance Starter Kit
- Convenience Starter Kit
- Safety Starter Kit
- Starter Home 10-Pack
- Smart Security 25-Pack
Accessories
- Deako Faceplate
- Quick Wire Backplate & Faceplate with Single Pole Simple Rocker Switch
- Smart Plug
- Deako Gift card
- How it works
- Get inspired
- Partners
Partners
Overview
Builders
Electricians
Integrators
Resources
- Support